
This sandbox lets you try the MaxDiff balance check in your own project, with two demo surveys we provide. Both contain the same MaxDiff: twelve features of a mobile phone plan, four per task, nine tasks per respondent, five design versions. The first survey has a design flaw that no tester could spot by clicking through it; the second one has the corrected design. You run SurveyBots on the first, see SurveyTester report the flaw, switch the project to the second link and watch the verdict change - the same cycle you go through when a survey author fixes a real MaxDiff.
It takes about 10 minutes: the SurveyBots run in parallel, so a batch of 20 to 40 runs is done in a few minutes. The background on what is checked and why is in Testing MaxDiff questions.
The two demo surveys
| Survey | Link | What is in the design |
|---|---|---|
| With design flaw | https://www.feedback-experts.com/mrIWeb/mrIWeb.dll?I.Project=SANDBOX_MAXDIFFWITHDESIGNFLAWS | The five versions are shifted copies of one plan. As a result, two pairs of items never appear in the same task, in no version |
| Corrected design | https://www.feedback-experts.com/mrIWeb/mrIWeb.dll?I.Project=SANDBOX_MAXDIFFWITHCORRECTDESIGN | Five genuinely different plans: every pair of items meets several times across the versions |
Each task page looks perfectly normal in both surveys. The difference only shows up when you count across many respondents - which is exactly what SurveyTester does.
Note
The surveys start with an age question. A SurveyBot that answers Under 18 is screened out before the MaxDiff; that is intended and gives you a screenout in the test runs. Only runs that reach the MaxDiff count for the balance check.
Step 1: Create the project with the flawed survey
Open the project menu (☰) and choose Create New Project. Pick a folder, give the project a name such as "Sandbox MaxDiff", and paste the first link as Survey Link:
https://www.feedback-experts.com/mrIWeb/mrIWeb.dll?I.Project=SANDBOX_MAXDIFFWITHDESIGNFLAWS
SurveyTester recognises the survey system (Dimensions) from the link. Choose English as default language and click Create Project. Everything else can stay as it is; the dialog is described in detail in Best practices: from a new project to sign-off.
Step 2: Run 10 to 20 SurveyBots
Click Test Survey, choose SurveyBot Testing and set the number of test runs to 10 to 20. No test case is needed: random answers are fine for a MaxDiff. Start the job and wait until the runs show up in Test Runs.
Ten runs are enough to cover every design version twice; more runs make the evidence stronger.
Step 3: Look at the result in Pages & Routing
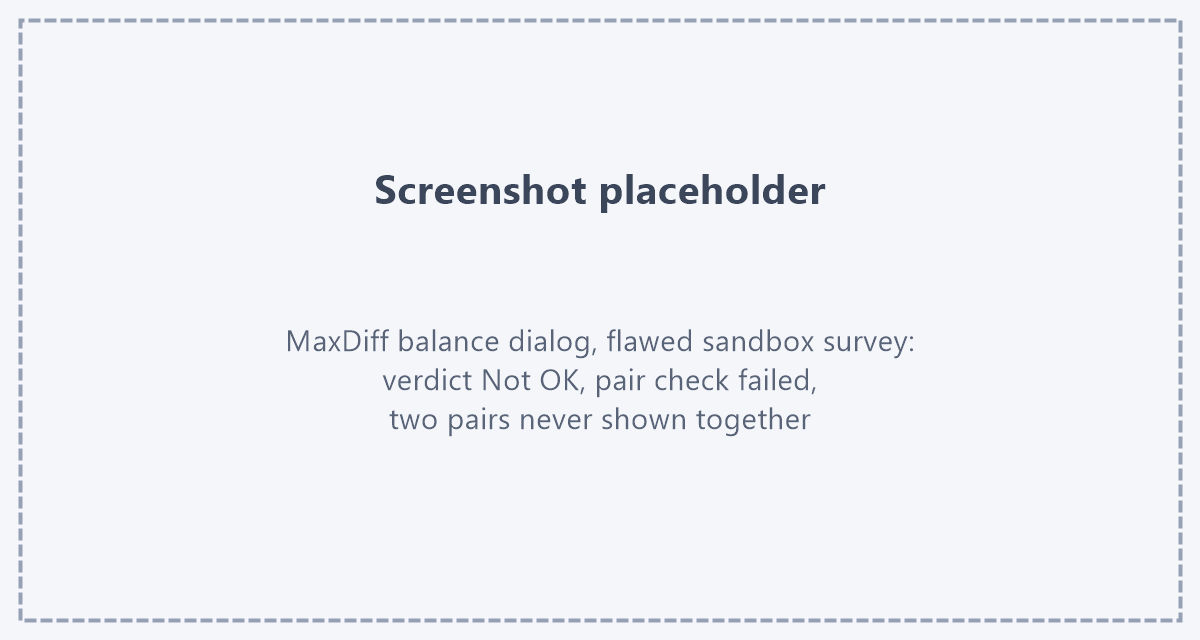
Open Pages & Routing and reload the page once the runs are finished. The nine MaxDiff task pages carry the balance icon in the Expectations column. Click it to open the MaxDiff balance dialog. You should see:
- the verdict Not OK, with the failing check Pairs share a task;
- in the Item pairs box, the two pairs of items that never shared a task;
- the other checks (same number of items per task, items shown equally often, rows rotated) passed - the flaw is in the combination of items, not in how often they appear.
The deviation is also reported as an AutoDetect finding under MaxDiff Balance in Issues, where you can approve it into an issue as you would for a real survey.
Tip
If the dialog says No verdict yet, fewer runs than needed have reached the MaxDiff. Start a few more SurveyBots and reload.
Step 4: Create a milestone
Before you change anything, mark the point in time: open Project Details › Milestones and add a milestone, for example "Corrected design". Every test run started after this point belongs to the new milestone, so you can later look at the runs after the fix on their own. More on milestones in How to Use Milestones.
Step 5: Switch to the corrected survey
Open Project Details › General and replace the Survey Link with the second link:
https://www.feedback-experts.com/mrIWeb/mrIWeb.dll?I.Project=SANDBOX_MAXDIFFWITHCORRECTDESIGN
Save. This is what happens in a real project when the survey author publishes a fixed script under a new link. Questions, pages and earlier test runs stay in the project.
Step 6: Run 10 to 20 more SurveyBots and compare
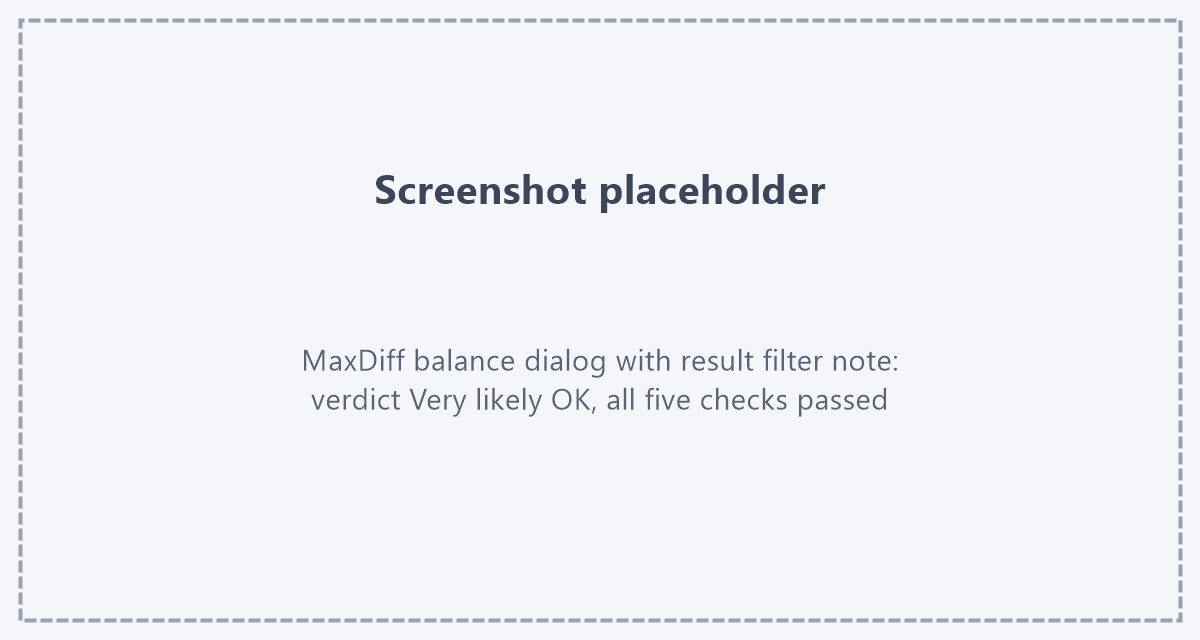
Start another SurveyBot job with 10 to 20 runs, as in step 2. When it is finished, reload Pages & Routing and open the balance dialog again. The new runs bring the pairs together that never met before, and the verdict moves towards Very likely OK. Findings that are no longer seen are withdrawn automatically.
Without a filter, the dialog counts the runs of both surveys together, so the numbers still carry the old design. To see the corrected design alone, use the milestone.
Step 7 (optional): Filter on the milestone
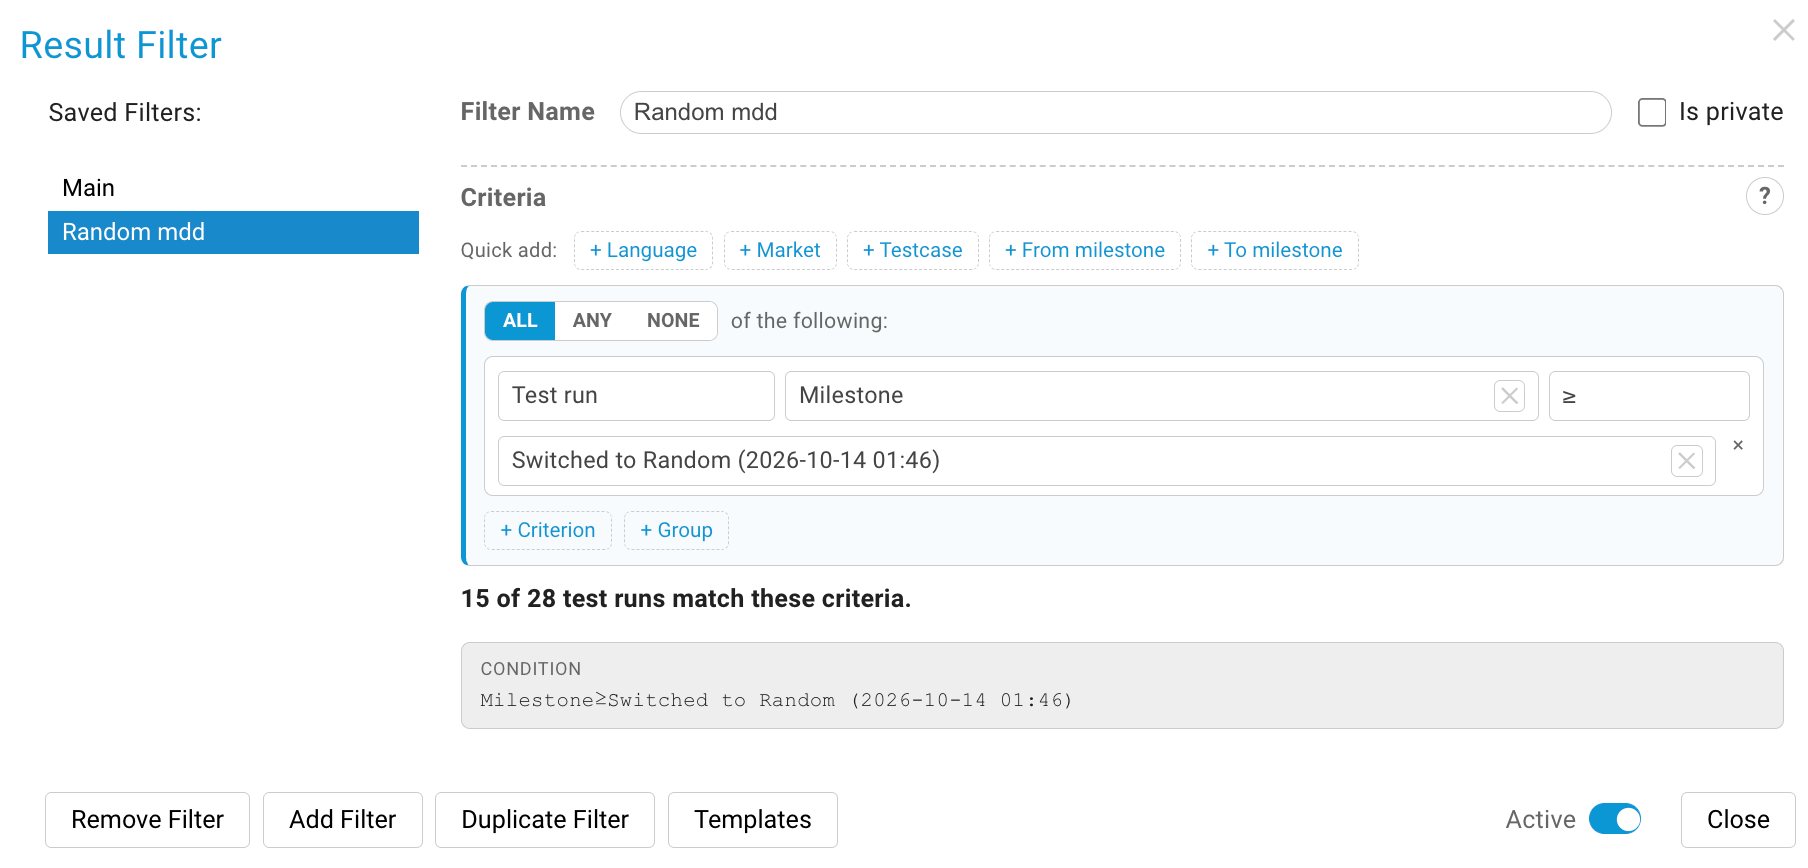
Open the Result Filter, add the criterion Milestone and choose the milestone from step 4, then activate the filter. The balance dialog is now computed for the runs after the switch only and says so in a blue note: all checks passed, verdict Very likely OK.
Switch the filter off again to see both designs together. Filters and milestones are described in Result Filter.
What you have practised
- A MaxDiff design flaw is invisible on every single page and only shows up when you count across respondents.
- SurveyBots provide that volume in minutes; the balance dialog turns it into a verdict with the evidence behind it.
- A milestone before the fix plus a result filter after it answers the question every project asks after a script update: is it fixed now?
Use the same steps on your next real MaxDiff: run a batch of SurveyBots before launch, hand findings to the survey author, set a milestone when the fix arrives and check the runs after it.