
Every organisation has things its testers and project managers should know: who to call when the survey system is down, how to name test runs, where the issue conventions are written down. The role is the natural place for such information, and the dashboard the natural place to read it.
How it works
An administrator writes the Role Information for Users in the role dialog under Administration → Roles: free text per role, formatted as needed, with links.
Users see the dashboard block Organizational Information with the texts of every role they hold, across all companies of the instance. The block is offered in the dashboard's block selector as soon as at least one of the user's roles carries such information; without any text it stays hidden.
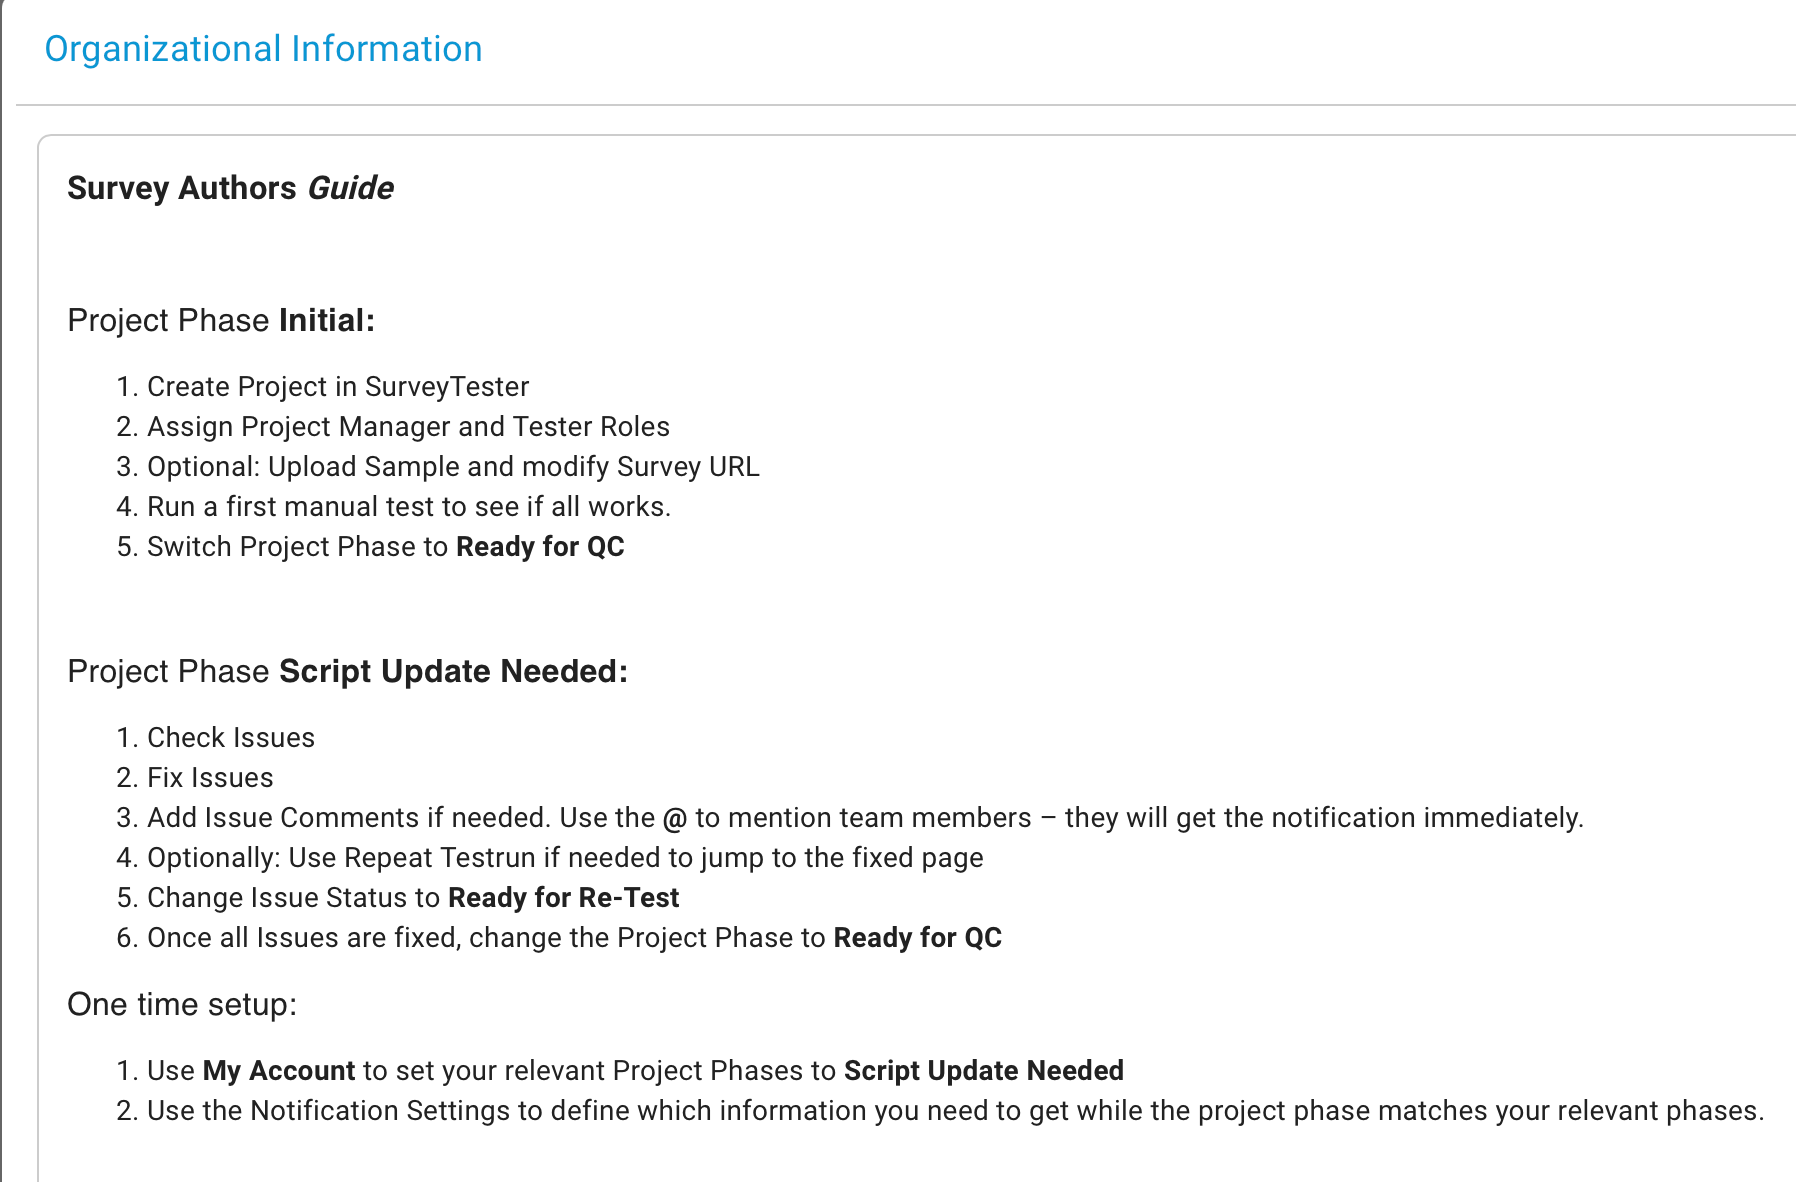
Step by step
- Open Administration → Roles, edit a role and fill in Role Information for Users. Save.
- On the dashboard, open the block selector and switch Organizational Information on.
- The block lists each role with its text; the texts update as soon as the role is edited.
Notes
- The text is per role, not per user: everyone with the role reads the same information.
- Users with roles in several companies see all of them in one block, each under its role.
Key takeaway
Put the organisational knowledge into the roles, and every user finds it on the dashboard the moment they log in.